Enrolment journey
Capturing leads
Families reach Nurtra five ways. However they arrive, they get one record with a shared timeline, a lead score and attribution showing how they arrived.
1. Add a lead by hand
For walk-ins and phone calls.
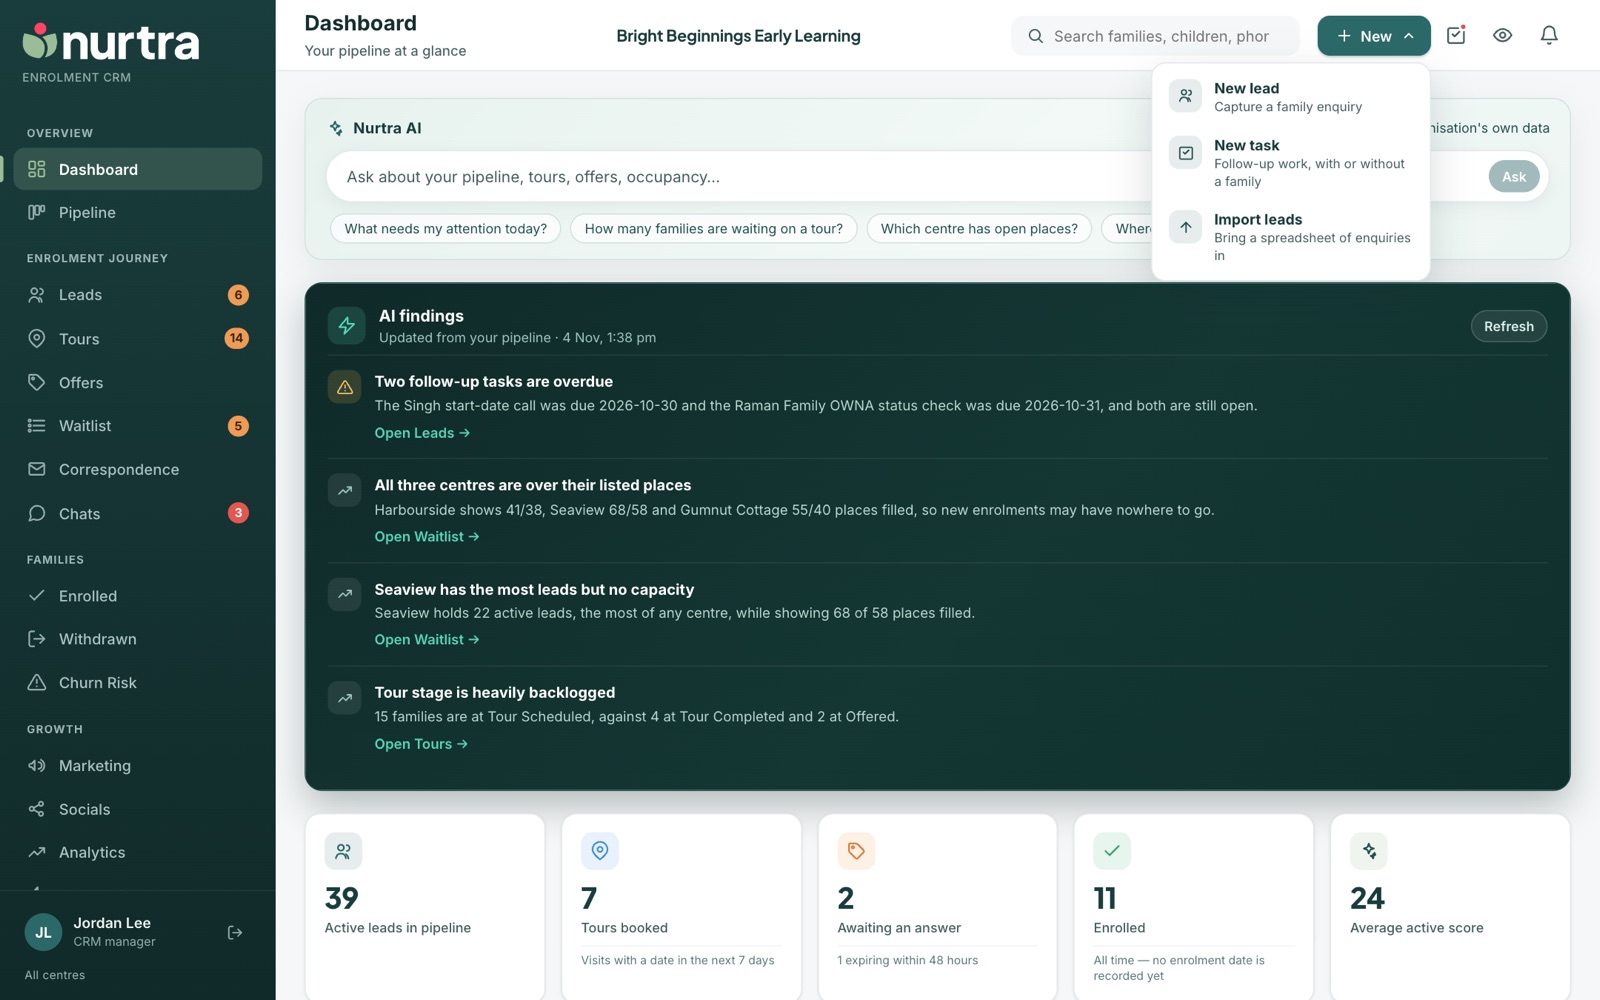
- Press + New at the top right of any page, then New lead.
- Enter the guardian's first name, last name, family name, phone and email.
- Add each child: date of birth, days needed (Mon–Fri) or tick Flexible on days.
- Choose up to three centres in order of preference. The first is the primary centre.
- Set source, desired start date, starting status, priority of access, attributes and assigned consultant.
- Tick any additional needs (allergies, nut-free diet, medical condition, speech/OT, toileting support and so on) and add notes.
- Press Capture lead.
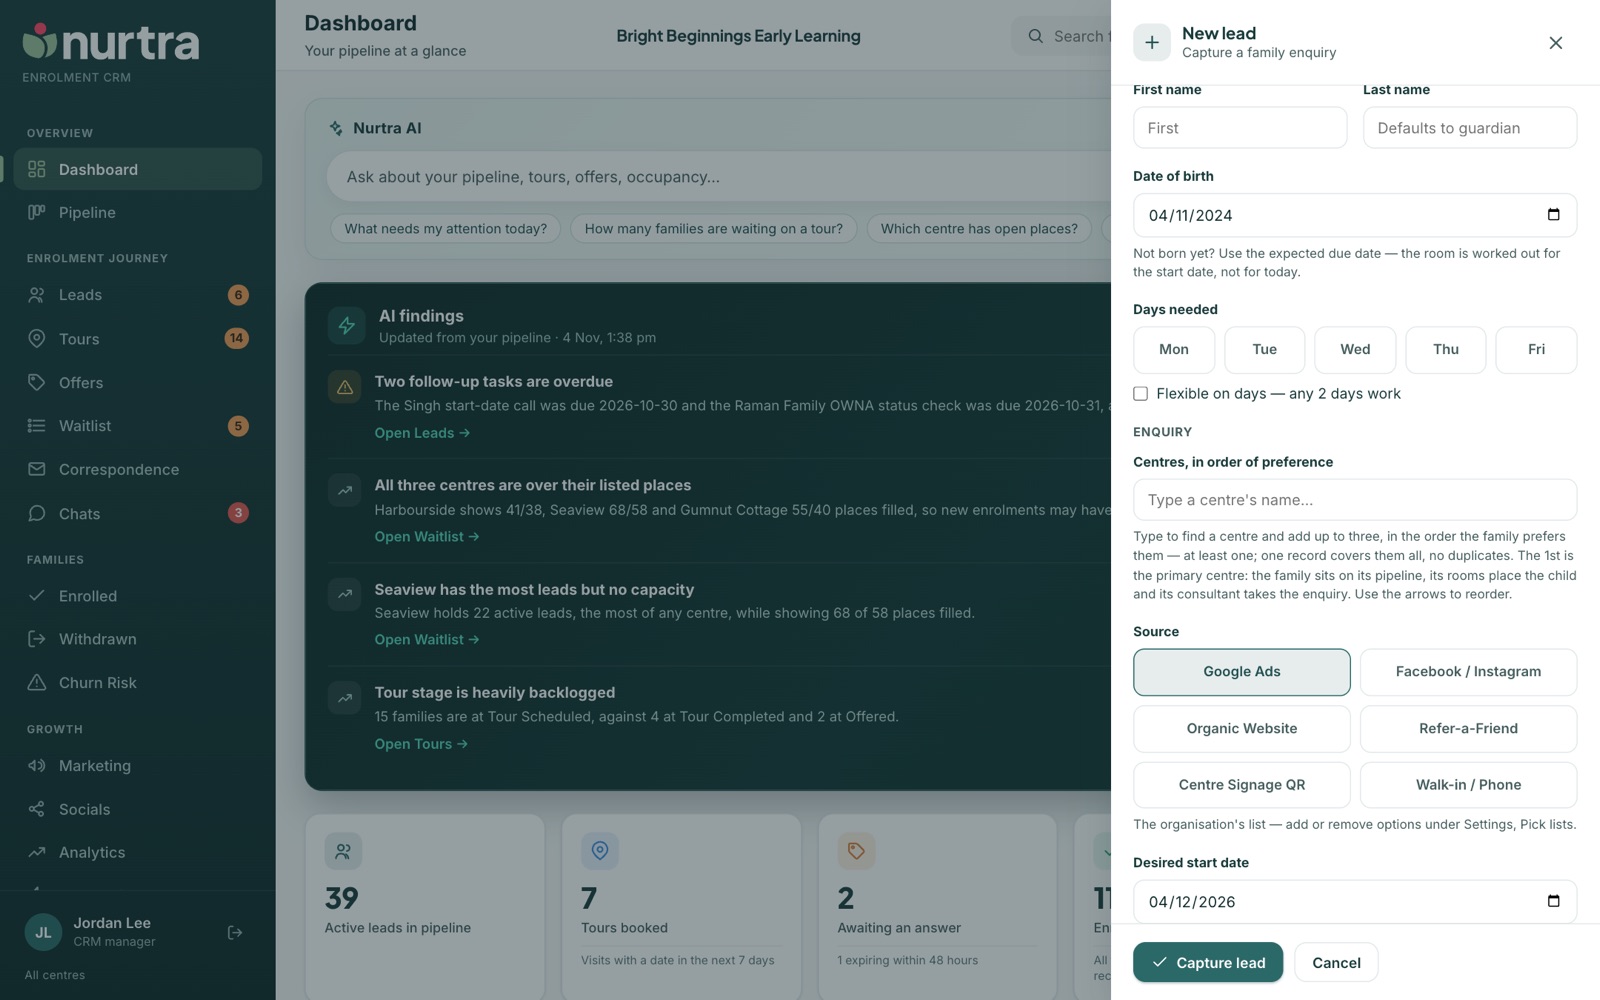
- Starting status lets you add a family who already toured yesterday straight into the right stage.
- A Walk-in / Phone source skips the automatic first-contact task, because you're already talking to them.
- If the email or phone already exists, a duplicate alert links to the existing family. Only capture anyway if it really is a different family.
- Use the Referred by picker to credit a word-of-mouth referral.
2. Website enquiry form
- Each centre has a public form, by link or embedded in its website. Every submission becomes a lead instantly with a first-contact task.
- If the centre has tour times, the form offers them on a calendar up to six months ahead. The family lands at Tour Scheduled with a confirmation on its way.
- Groups can embed one organisation-wide form instead, where families pick their centre (plus a 2nd and 3rd choice). See Website Config.
- A separate book-a-tour form asks for the time first, then the details: the parent, and up to two children with their dates of birth (the second child is asked wherever your enquiry form asks it).
3. Live chat
- The chat widget asks for a name and email before the chat starts, so every chat becomes a lead.
- Families can book a tour inside the widget from real availability, day or night.
- Conversations land in Chats.
4. Facebook lead ads
Lead-form submissions on your connected Facebook Pages arrive as enquiries within seconds. See Social Media settings.
5. Import a spreadsheet
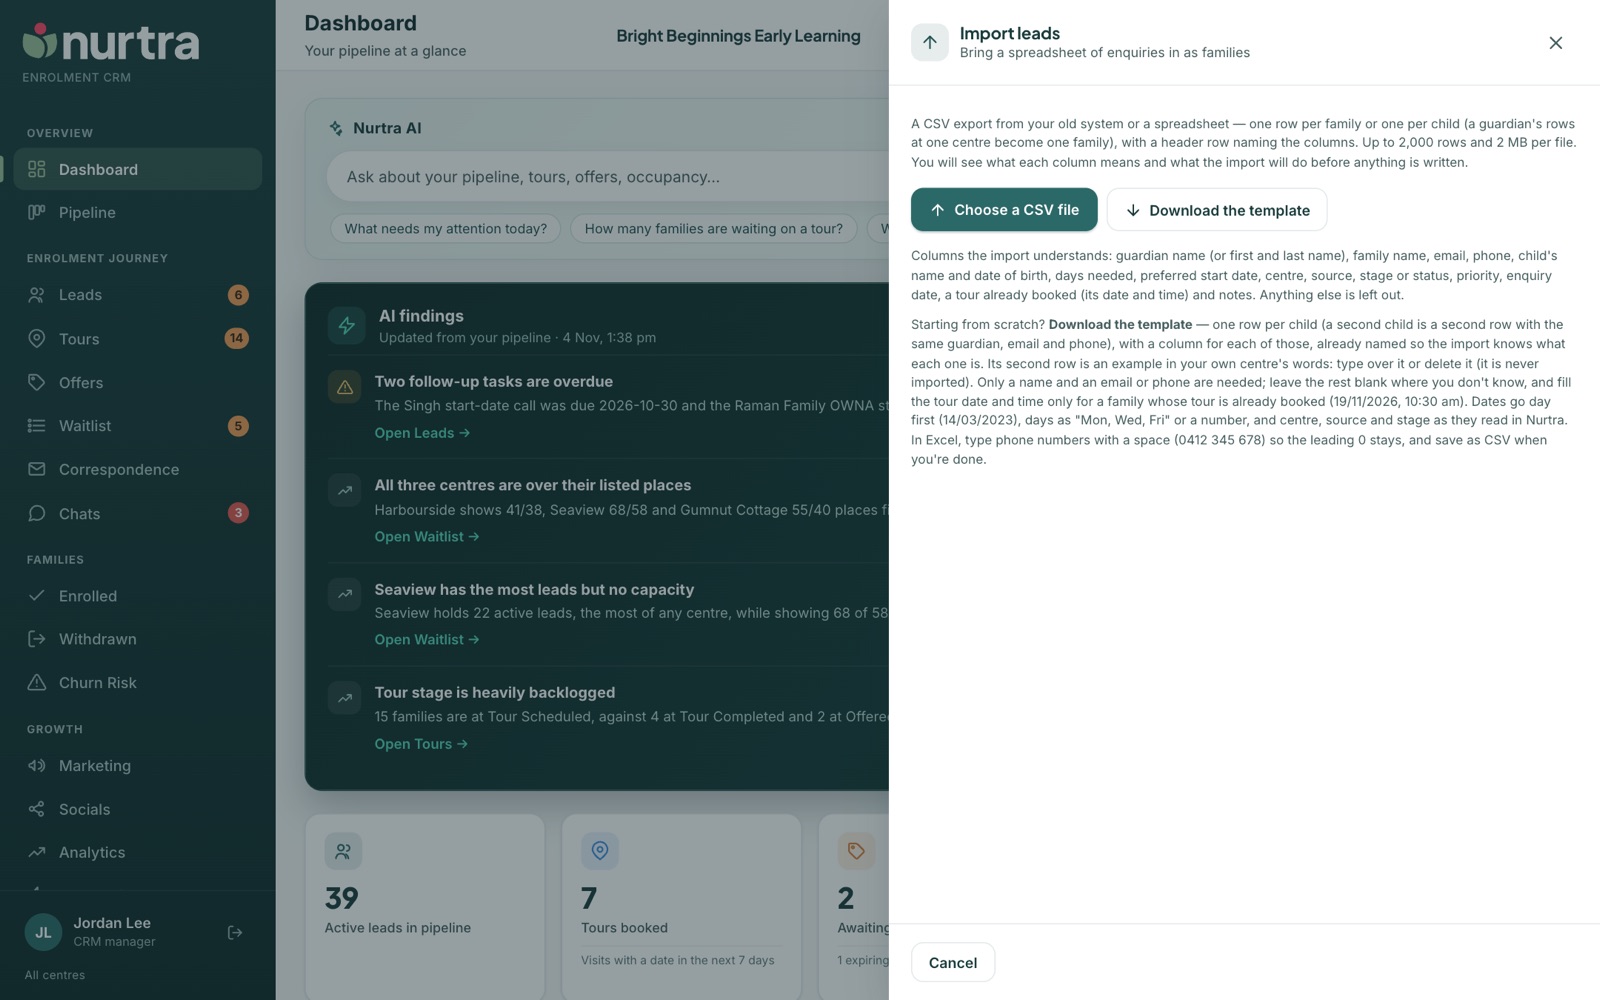
- Press + New → Import leads (CRM managers only).
- No export to start from? Press Download the template. It has a column for everything the import reads and an example row.
- Choose a CSV file. Nurtra guesses what each column means; change any guess from its drop-down. Press Check the file to see what each row will do before anything is written.
- Confirm. Families already on record (same email or phone) are skipped, unless you tick Also import families whose email or phone is already on record.
What the import understands
- One row per child is fine. Rows with the same guardian, email or phone, and centre become one family with each child. The preview marks them Joins family.
- Names split across columns, such as ChildFirst and ChildLast, or FirstName 1 and LastName 1, are put back together.
- Statuses map to your stages. "Waitlist" or "Waiting list" lands on the Waitlisted step, and those children wait from their enquiry date. "Pre-tour waitlist" stays on Pre-Tour Waitlist.
- Tours already booked come in from a Tour date and Tour time column. A tour still to come is booked, a past one is recorded as held once the family's stage is beyond it, and a date without a time is noted rather than guessed.
- A mobile number Excel saved without its leading 0 gets it back.
Good to knowImporting never sends an auto-reply or stage alert and never creates a first-contact task, so a family who enquired months ago isn't suddenly emailed. An imported tour that's still to come is treated like any booking: the centre director gets the host task and the family gets the usual reminder, but no confirmation.
Importing with a lead template
If your organisation receives a regular spreadsheet, such as a council's kindergarten placement list, Nurtra can set up a lead template for it. You then import that file as it arrives, without matching any columns.
- Press + New → Import leads, and under What kind of file? choose the template.
- Choose the Excel file exactly as you received it. Its columns are found by their names, even if the council adds or moves one.
- Pick the Centre the families are for. Under Status for every family, keep Use each row's status, or choose Import everyone as a stage to put the whole file there.
- Press Check the file. The preview shows the new families and the families already in Nurtra it will update, with what changes for each. Then import.
- New families come in at the row's status. A row with no status is a new lead.
- Families already in Nurtra (the same parent email or phone) are updated, not duplicated. The child is matched by name or date of birth, and moves to the row's status. A child the family doesn't have yet is added to it.
- Nothing already on a family's record is overwritten. The file only fills in what's missing, such as a phone number, the second parent, or a child's date of birth, gender or additional needs.
- Columns the template keeps, such as the address or the offer accepted date, are written on the family's notes once, however often you import the file.
- No template for your file? Ask Nurtra support to set one up from an example.
Updated 2026-11-06 · nurtra.ai